Why Is My NES Blinking Red?
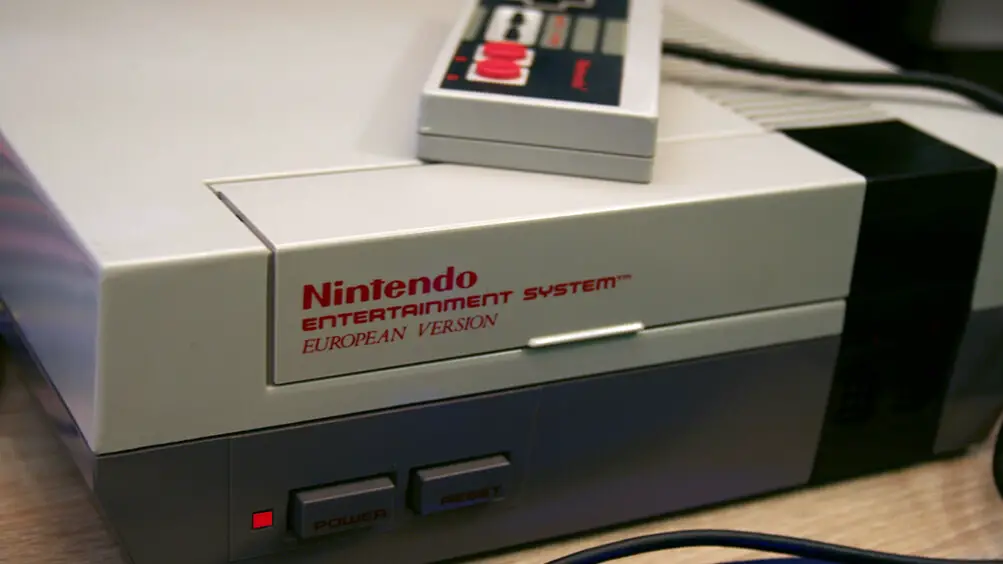
The NES and Its Red Blinking Light
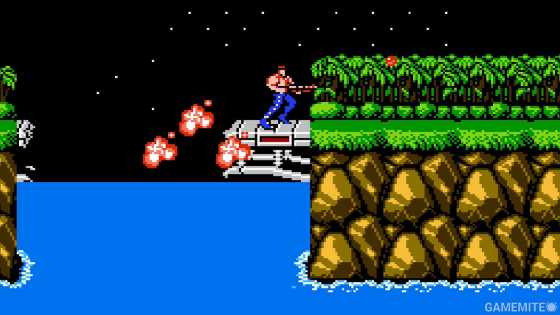
If you grew up in the 80s or early 90s, chances are you have fond memories of sitting in front of your television, frantically pressing buttons on your Nintendo Entertainment System (NES). The iconic gray box brought to life some of the most beloved video games of all time, from Super Mario Bros. to The Legend of Zelda. But what happens when that nostalgic blast from the past starts acting up? One common issue that NES owners encounter is a blinking red light on their console. If you've ever wondered why this happens and how to fix it, you're about to embark on a journey down memory lane as we explore the mysteries behind the blinking red light syndrome.
Common Causes:
Power supply issues, cartridge connection problems, and dirty or worn-out connectors are the most common causes of the blinking red light syndrome on an NES console.
Firstly, power supply issues can occur if the AC adapter is not providing a stable power output to the console. This can lead to voltage fluctuations that cause the red light to blink. To fix this, try using a different AC adapter or ensure that your current one is properly plugged in and functioning correctly.
Secondly, cartridge connection problems can also trigger the blinking red light. This can happen if the game cartridge is not inserted properly or if there is dirt or debris on the connectors. To resolve this, carefully remove the game cartridge from the console and clean both the cartridge and console connector pins with a soft cloth or cotton swab moistened with rubbing alcohol. Gently insert the cartridge back into the console, ensuring it is fully seated.
Lastly, dirty or worn-out connectors can contribute to the red light syndrome.
Troubleshooting Steps:
Check the power supply, clean the cartridge, reset the console, and check for any loose or damaged cables.
If the power supply is not delivering enough power to the console, it can cause various issues, including the blinking red light. Make sure that the power supply is securely connected to both the console and a working electrical outlet. If possible, try using a different power supply to see if that resolves the problem.
In addition to checking the power supply, cleaning the game cartridge and console connector pins is crucial.
DIY Fixes:
Replace the 72-pin connector, clean the motherboard, and replace any faulty capacitors. The 72-pin connector is responsible for establishing a secure connection between the game cartridge and the console. Over time, this connector can become worn out or dirty, leading to connectivity issues and causing the blinking red light problem. To fix this, you can purchase a replacement 72-pin connector online or at a gaming store. Follow step-by-step instructions to carefully remove the old connector and install the new one.
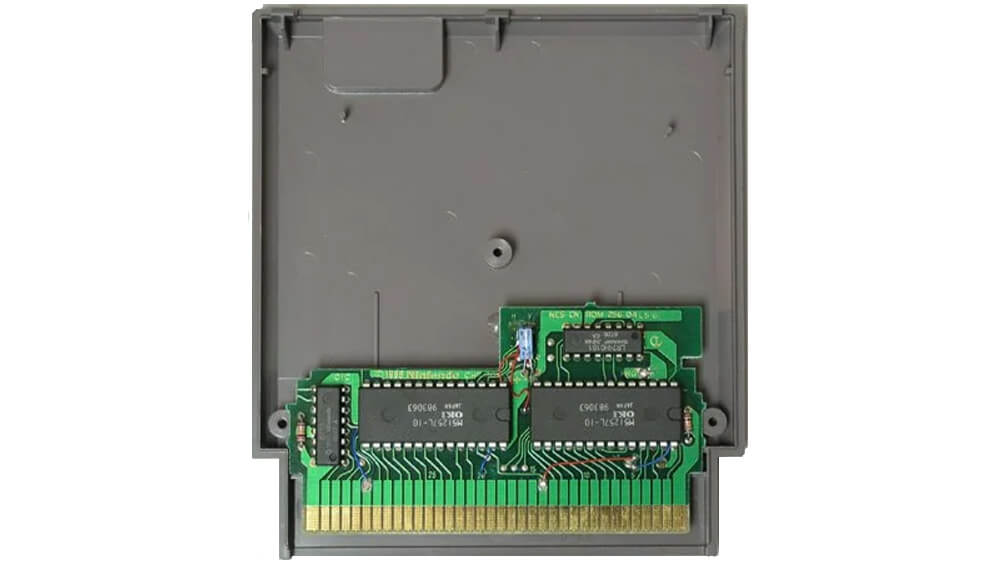
Clean The Cartridge
Clean the cartridge by cleaning the 72-pin connector. You can clean this by using 91% isopropyl alcohol and a cotton swab. The closer to 91% the isopropyl alcohol is, the better and less likely to damage your pins. Gently scrub the metal pins to remove any dirt or corrosion that may have accumulated over time. Be sure to let the connector dry completely before trying to insert the game cartridge to play. The best route to go would be opening up the NES game cartridge for easy cleaning using a 3.8 mm security screwdriver. These can be easily picked up online for fairly cheap and can be used to open game cartridges for several other Nintendo game consoles. Do note that the NES game cartridge can be cleaned without opening it up but it just makes it a little more difficult to reach every area of it.
Clean The NES Motherboard
Next, it's important to clean the Nintendo Entertainment System (NES) motherboard itself, as dust and debris can also cause connectivity problems. Use compressed air or a soft brush to carefully remove any build-up from the circuit board. Be cautious not to damage any delicate components while cleaning. Once you have cleared any visible dust or debris from the motherboard, it is recommended to use a cotton swab dipped in isopropyl alcohol to clean the contacts and connectors. Gently rub the cotton swab on each contact point to remove any corrosion or grime that may be hindering proper connectivity. Take extra care when cleaning around delicate components such as chips and capacitors. Ensure that no excess liquid drips onto the motherboard, as this can cause damage.
Professional Repair Options:
Contact a local repair shop that specializes in video game console repairs. They may be able to diagnose the issue and provide a solution that is beyond your DIY capabilities. It's important to note that attempting any further repairs yourself could potentially damage the console beyond repair, so it's best to seek professional help if you're unsure.
If all else fails, contacting the manufacturer or reaching out to their customer support team may be worth a try. They might have specific troubleshooting steps or offer repair services for a fee.
Conclusion:
In conclusion, the NES red blinking light is a common issue that can be frustrating for gamers. However, with some troubleshooting and understanding of the possible causes, it is often possible to resolve the problem. By checking the connections, cleaning the console and cartridges, replacing faulty components, or seeking professional help when needed, you can get your NES back up and running smoothly.
Remember to always handle your console with care and avoid attempting repairs beyond your own capabilities.

Retrogamer is a passionate enthusiast of classic video games, with a deep love for the pixelated adventures of the '80s and '90s. When not hunting down rare cartridges or perfecting high scores, he's sharing nostalgic insights with fellow gamers.
Recommended